

Learn how to lay your own sod and save valuable time and money! It's a lot easier than you think, just spend 5 minutes reviewing these 7 steps of how to successfully lay your own sod.
STEP 1: Select the Right Type of Sod
Select the right type of grass for you and your site.
STEP 2: Measure Area
Make a sketch of your lot and measure the area you wish to sod. Calculate the square feet of product needed by multiplying length times the width of the area measured. Deduct a reasonable amount for buildings, paved drives, and walks.
length x width = square feet of sod needed
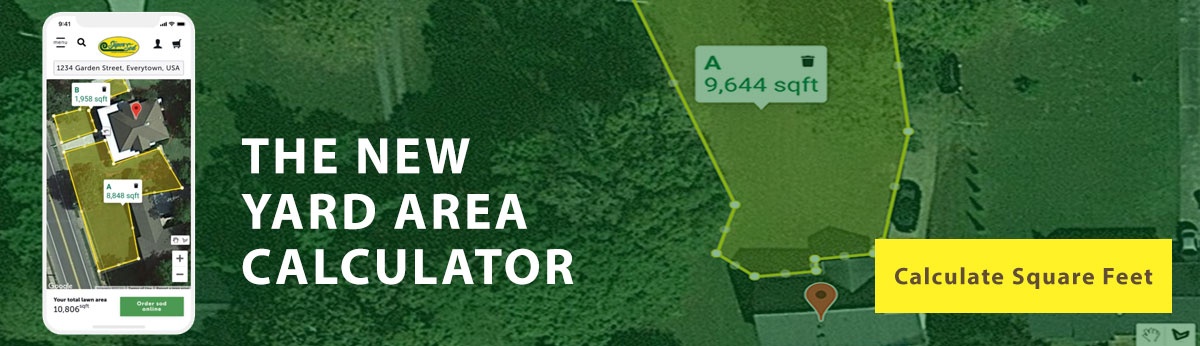
For assistance with odd lawn shapes, use our Lawn Area Calculator.
STEP 3: Prepare Your Soil
Prepare the site by grading so that the soil slopes away from foundations and buildings, thus avoiding drainage problems.
If renovating an existing lawn, destroy the current vegetation.
Using native soil only: Till to a depth of 4 to 6 inches, smooth the soil, remove rocks, roots, clods, and vegetation.
Using Soil³ humus compost: Soil³ should be mixed with the top layer of existing soil. Just raking the Soil³ into the existing top soil is usually sufficient. Smooth the soil, remove rocks, roots, clods, and vegetation. Our experience shows that no preplanting fertilizer is necessary when using Soil³. Apply and rake in dolomitic lime based on soil test results and/or according to the formulas below. More info at www.soil3.com and under Laying New Sod with Soil³.
Water heavily to see if water puddles in any low spots, and if it does, add soil and/or regrade to eliminate low spots. Keep soil surface 1/2 inch below walks and drives. Tilled soil will settle some.
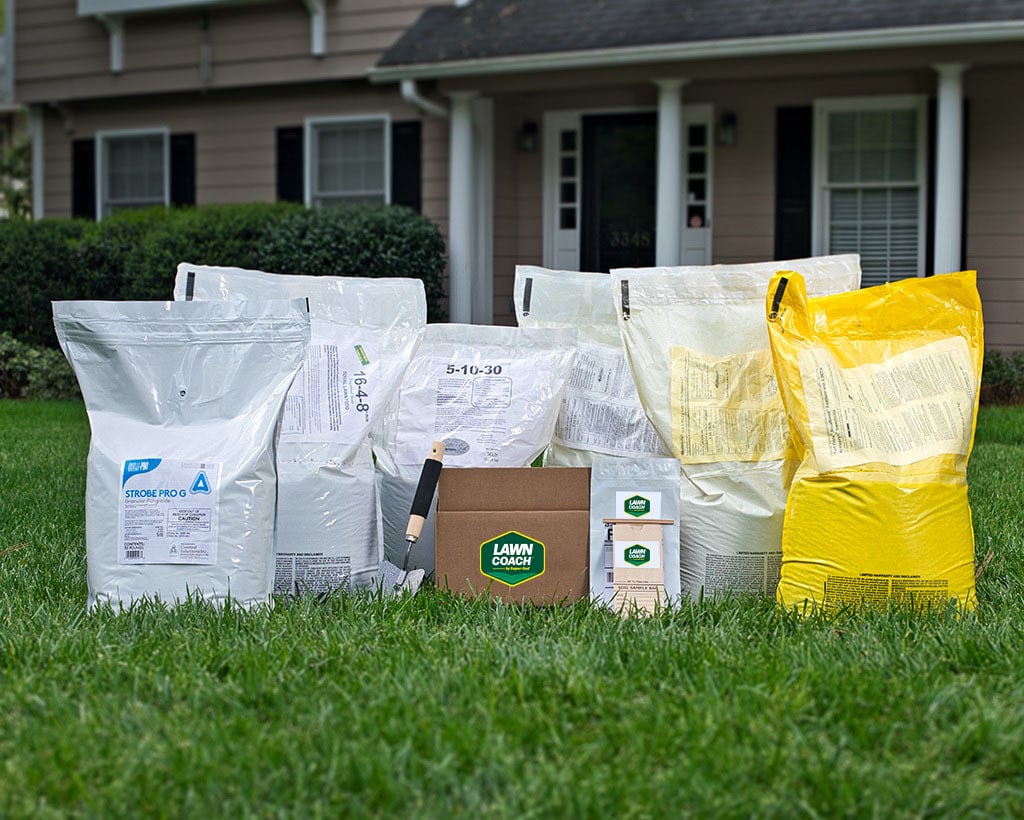
Apply and rake in fertilizer and dolomitic lime based on soil test results and/or according to the formulas below.
Centipede per 1,000 sq. ft.: 10 lbs. Starter & Centipede Formulation 5-10-30 + Iron
All others per 1,000 sq. ft.: 15 lbs. Total Lawn Food 16-4-8 + Iron + 50 lbs. dolomitic lime
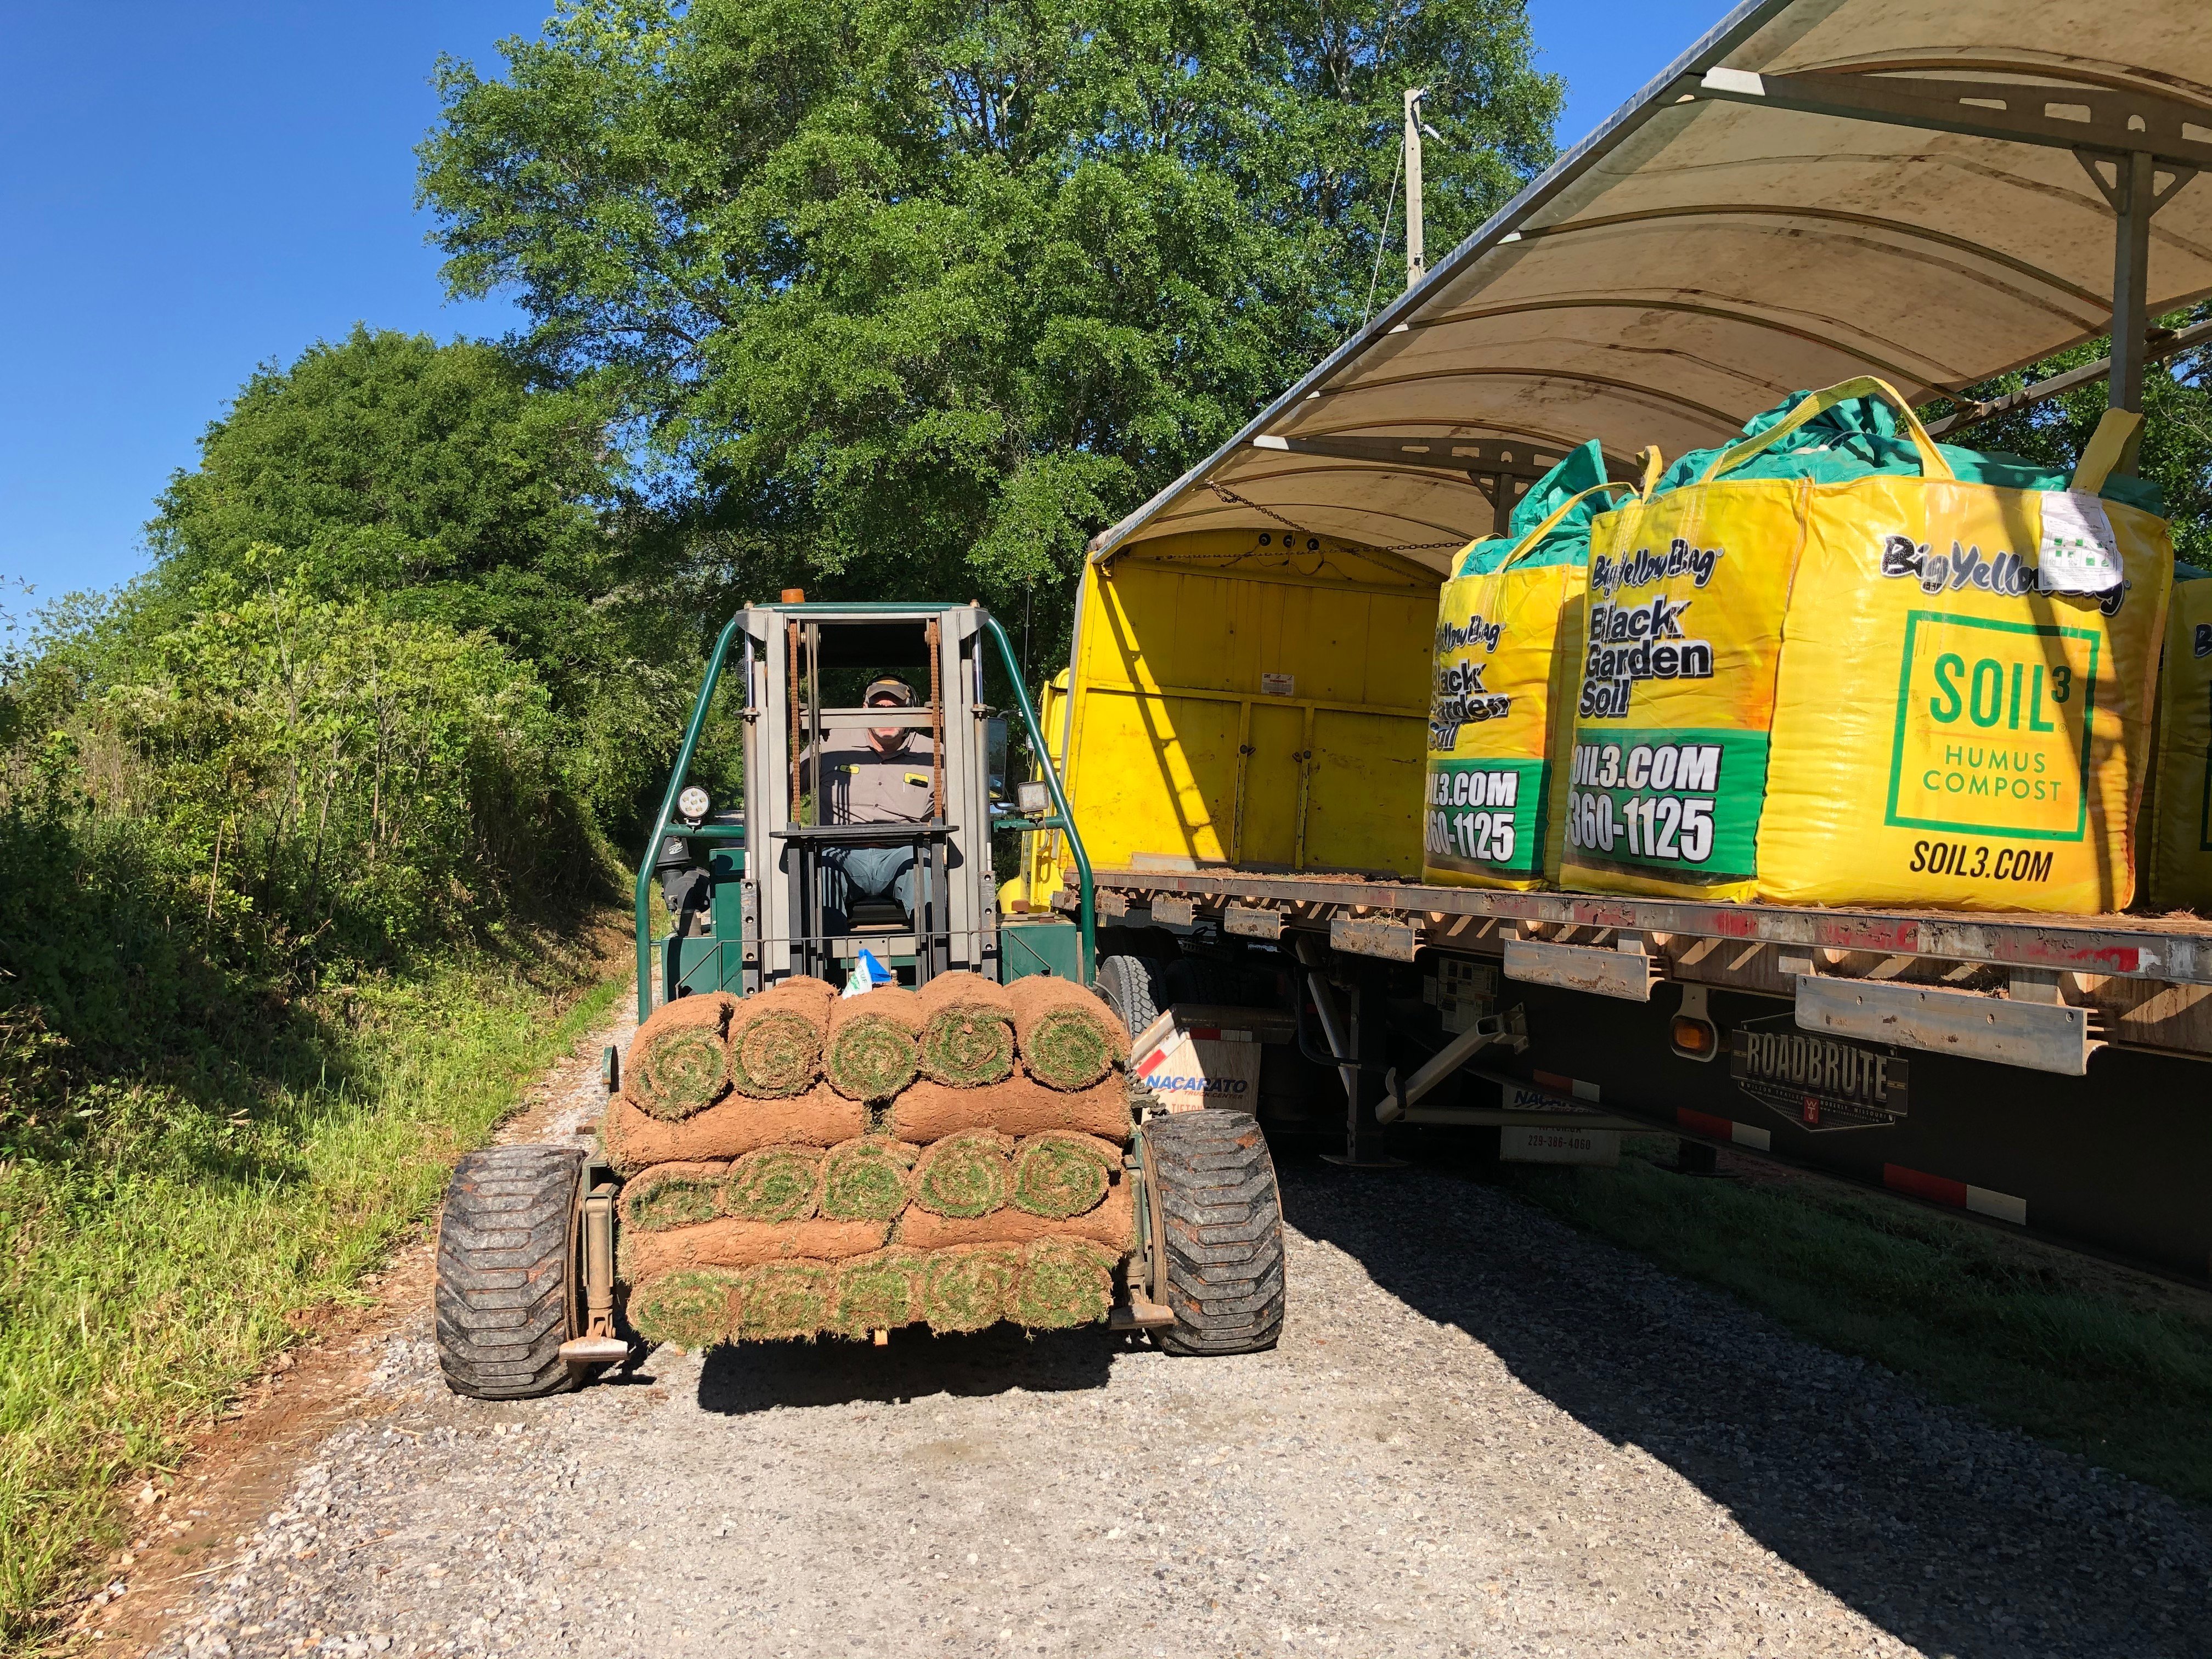
STEP 4: Schedule Delivery
Schedule your sod to be delivered after the site is prepared and you are ready to install.
Prompt installation on the day of delivery is crucial to a strong beginning for your lawn. Find a spot in the shade to preserve your farm fresh sod as you lay it. Read our hacks on how to Store Sod in the Shade - Even if You Don't Have a Tree.
To avoid running short consider ordering slightly more sod than your measurements require.

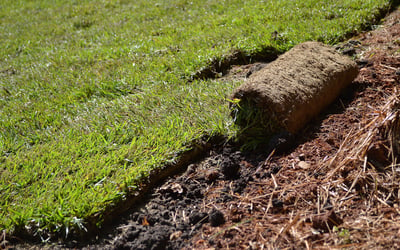
STEP 5: Install Sod
Water to dampen the bare soil and start laying sod immediately after delivery.
In hot weather, protect unlaid sod by placing in the shade.
Begin installing sod along the longest straight line, such as a driveway or sidewalk. Butt and push edges and ends against each other tightly. Stretch lightly. Avoid gaps or overlaps. Stagger the joints in each row in a brick-like fashion, using a large sharp knife to trim corners, etc.
On slopes, place sod across (perpendicular) to the slope, not horizontally with the slope.
After installing the turf, roll the entire area to improve sod/soil contact and to remove air pockets.
Check out our video Details of Installing Sod for a more in-depth view on how to lay rolls of sod.
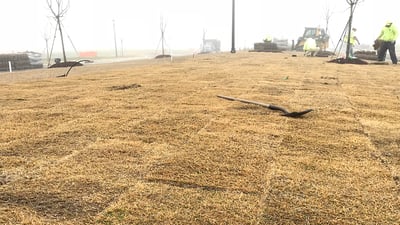
If installing dormant sod, consult our guide on How to Lay Dormant Sod.
STEP 6: Water Frequently
Watering as You Lay Your Sod
Begin watering small sections within 30 minutes of installation. Our saying is: Water as You Lay Your Sod. Keep in mind that each roll is a living plant that requires soil contact and moisture to survive.
Watering Until it Roots
Water daily, or more often, keeping sod moist until it is firmly rooted (about 2 weeks). Lift a piece of sod here and there to ascertain that you are watering enough to wet the soil below the sod. Read our details about Watering New Sod.
Watering Your Established Lawn
After the rooting-in period, less frequent and deeper watering should begin.
Warm season lawns need at least 1 inch of water per week; a cool season Tall Fescue lawn needs 1 inch of water per week in the cooler months, but 2 inches of water per week during the summer.
Water to supplement rainfall shortages. If 1 or more inches of rainfall occur in a week, additional irrigation is not necessary. Example: if 1/2 inch of rain occurs in a week, apply 1/2 inch by irrigation.
Do not waste water by over watering; avoid run-off. (How and When to Water)
Weather conditions will dictate the amount and frequency of watering. Be certain that your new lawn has enough moisture to survive hot, dry, or windy periods. We have focused instructions about How to Care for Your Lawn When it's Hot.
Water areas on mounds and berms and near buildings more often, where reflected heat dries the turf.
STEP 7: Mow
Begin mowing as soon as there is something to mow. It is important that mowing not be delayed too long.
Cut high the first time, but gradually and deliberately lower the cut-height. Find the ideal cutting height for your turf type in these maintenance guides.